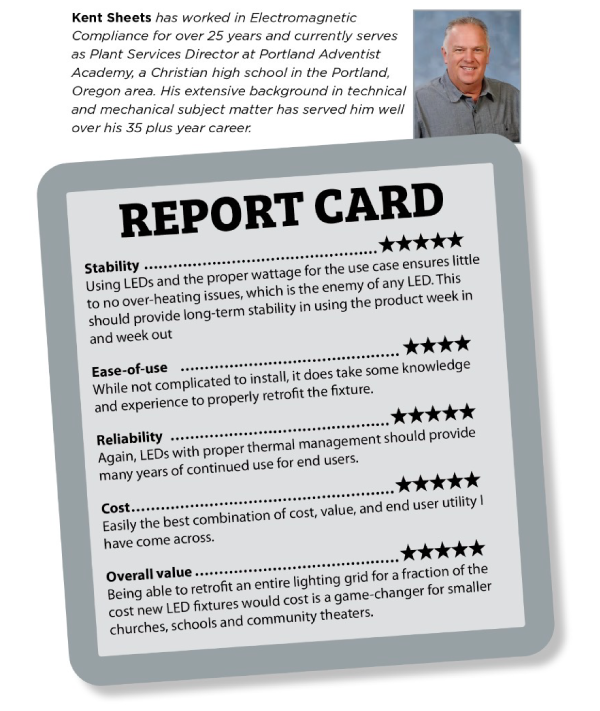



Lotus LED Lamp Review: Rated 5 Stars by Worship Tech
September 9, 2026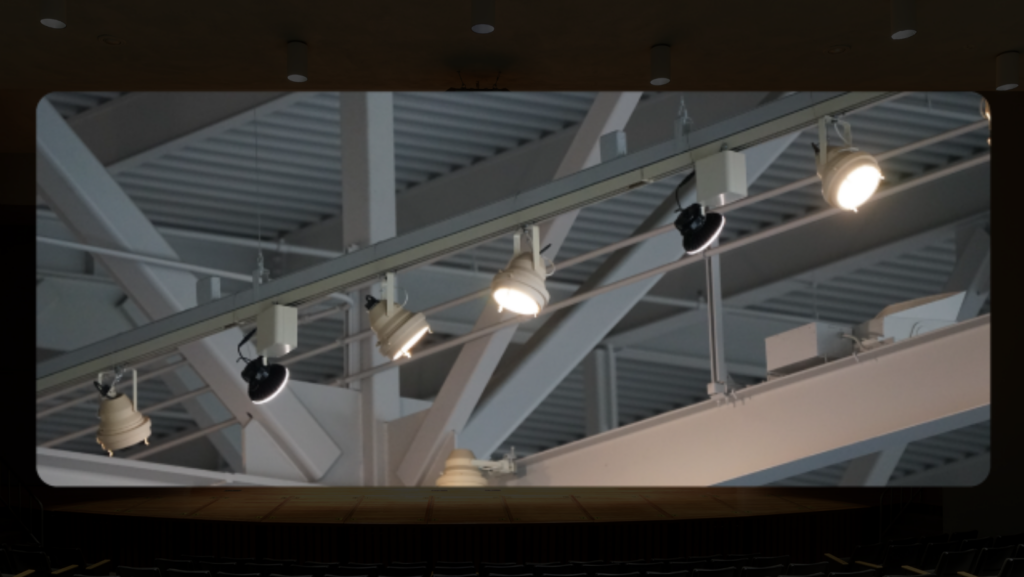
How to Use a Lotus Lamp as a Standalone LED Fixture
A PAR LED retrofit lamp does not always have to stay inside a traditional PAR can.
For churches, theaters, auditoriums, commercial facilities, stages, and other spaces using HyLite Lotus Lamps, another installation option is worth knowing: the standalone configuration.
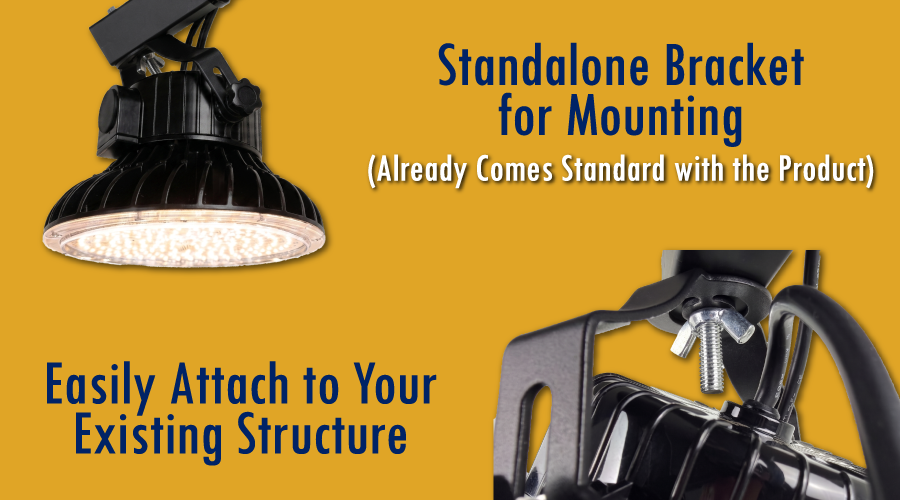
In a standard retrofit project, install the Lotus Lamp into a compatible existing PAR can. In a standalone installation, the lamp can instead be mounted with an approved bracket system, allowing the fixture housing to be removed when the application calls for a cleaner or more flexible mounting approach.
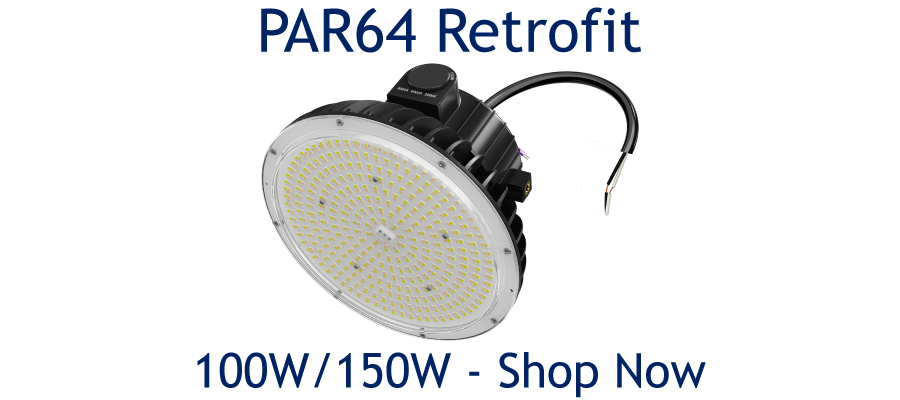
That gives lighting professionals another way to use the same high-output PAR56 or PAR64 LED platform while adapting the installation to the space.
What Does “Standalone” Mean?
In a standalone configuration, an approved mounting bracket supports the Lotus Lamp rather than the standard EX39 mogul-base arrangement.
Remove the EX39 base and its associated power cord from the bracket. Secure the bracket directly to the Lotus Lamp, then mount the completed lamp-and-bracket assembly to an appropriate supporting structure. Connect power through the WC2 quick adapter.
This setup can be useful when an installer wants the output and performance of a Lotus Lamp without retaining a traditional PAR can around the lamp.
The exact bracket, mounting method, clearances, electrical connections, and supporting structure must still be appropriate for the specific product and installation.
Why Consider a Standalone Lotus Lamp?
Most PAR lighting projects start with an existing fixture. If those PAR cans are still in good condition, keeping them and installing a retrofit lamp is often the simplest approach.
But not every project needs the original housing.
A standalone mounting option gives contractors and facility managers more flexibility for unusual mounting locations, new lighting positions, or applications where a full PAR can would add unnecessary bulk.
It also means the same Lotus Lamp platform can support different project types rather than forcing the facility to choose an entirely different lighting product simply because the mounting requirements changed.
At PAR LED Lights, that flexibility is especially useful for customers evaluating PAR56 LED retrofit lamps and PAR64 LED retrofit lamps for stages, sanctuaries, auditoriums, event spaces, and commercial environments.
How the Standalone Installation Works
The current HyLite instructions outline a five-step process after you make the electrical system safe and confirm the correct lamp, bracket, and adapter.
1. Select the Wattage and Color Temperature
Set the desired lamp wattage and white color temperature before installation. Available settings depend on the exact Lotus Lamp model, so always check the product label and current specification sheet first.
2. Remove the EX39 Mogul Base
Unscrew the EX39 Mogul Base from the standard bracket, then remove the EX39 power cord from the bracket assembly. Protect the lamp and wiring from damage during this process.
3. Attach the Bracket to the Lotus Lamp
Position the approved bracket on the lamp and secure it by tightening the nuts on each end of the bracket. The lamp should sit evenly, and check the connection to ensure it is secure.
4. Mount the Bracket to the Supporting Structure
Attach the bracket to the supporting structure using hardware and a mounting method appropriate for the lamp, bracket, location, and structural conditions. This is one reason a qualified professional should handle standalone installation rather than treating it as a simple DIY lamp swap.
5. Connect the WC2 Power Adapter
Connect the WC2 power adapter to the Lotus Lamp according to the current instructions. Before restoring power, the installer should inspect the wiring, grounding, lamp support, bracket connection, and adapter.

Electrical Requirements Matter
Standalone installation changes the mounting method, but it does not change the importance of proper electrical preparation.
The current instructions require installers to verify that the supply voltage matches the selected lamp, confirm grounding, inspect wiring for damage, and remove or bypass any ballast before installing the Lotus Lamp. The standalone instructions list 120–277VAC operation, but always check the product label and current specification sheet before installation.
If controls such as a photo control are part of the installation, those connections must also follow the current wiring instructions.
Do Not Ignore Airflow and Clearances
LED lighting produces far less waste heat than older high-wattage halogen lamps, but the lamp still needs proper ventilation.
The installation environment should provide adequate airflow around the Lotus Lamp. Insulation, foam, and combustible materials should be kept away from the lamp, and it should not be mounted on a flammable surface. The current standalone instructions also state that Lotus Lamps are not intended for emergency-exit fixtures or exit lights.
These details matter because the standalone configuration exposes the lamp differently than installation inside a traditional fixture.
What to Confirm Before Ordering
Before planning a standalone Lotus Lamp installation, gather the following information:
- Exact Lotus Lamp model
- Desired wattage and color temperature
- Supply voltage
- Whether a ballast is present
- Bracket and mounting hardware requirements
- WC2 quick adapter
- Grounding method
- Supporting structure
- Required clearance and airflow
- Existing lighting controls
- Current HyLite installation instructions
Standalone vs. Traditional PAR Can Retrofit
A standalone installation is not automatically “better” than using an existing PAR can. It is simply another option.
If your current PAR56 or PAR64 cans are in good condition and properly located, keeping those fixtures may still be the easiest and most economical retrofit path.
Standalone mounting becomes more interesting when the fixture housing is unnecessary, when you’re creating a new mounting location, or when the installation requires a more compact bracket-mounted solution.
The best choice depends on the existing lighting system, fixture condition, mounting location, electrical setup, and lighting goals.
Safety Comes First
Lotus Lamp installation requires knowledge of luminaire electrical systems. HyLite states that a certified or licensed electrician should complete inspection, installation, servicing, and removal in accordance with applicable electrical requirements.
Disconnect and verify power before work begins, and check supply voltage, grounding, wiring condition, mounting surface, fixture environment, and product markings before installation.
Installers should also avoid damaging wire insulation, exposing wiring to sharp edges, creating unapproved openings, or using the power cable as structural support.
Is a Standalone Lotus Lamp Right for Your Project?
The standalone configuration expands what you can do with the HyLite Lotus Lamp platform.
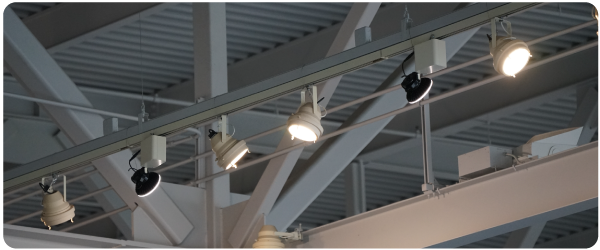
Instead of being limited to a traditional PAR can retrofit, qualified installers can use an approved bracket and WC2 adapter to create a direct-mounted LED lighting solution for suitable applications.
This can be especially useful in stages, churches, auditoriums, multipurpose venues, and commercial spaces where strong output, selectable settings, long lamp life, and installation flexibility matter.
If you are planning a project, start by identifying your current lamp, fixture, or mounting structure, voltage, controls, quantity, and lighting goals.
PAR LED Lights can help you compare PAR56 LED retrofit lamps, PAR64 LED retrofit lamps, beam angles, connection options, and the right retrofit approach for your space.
Need help determining whether a traditional PAR-can retrofit or standalone Lotus Lamp configuration makes more sense? Contact PAR LED Lights with photos of your existing setup and project details.