

Flicker-Free, Dimmable LED House Lighting
November 5, 2024
Church Lighting Solutions
December 10, 2024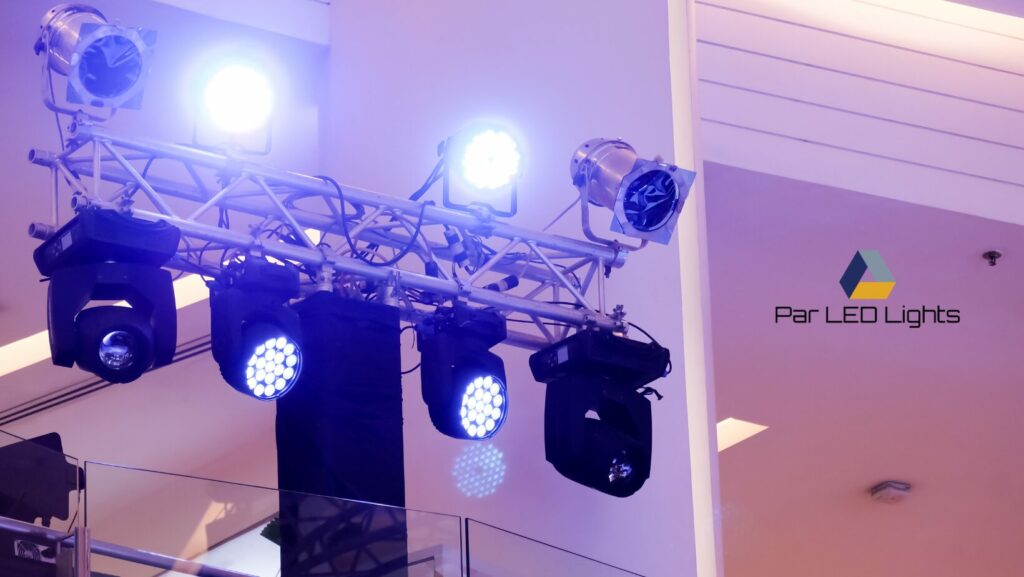
Why Lighting Angles Matter in Stage Design
Lighting angles aren’t just about illuminating the stage—they’re fundamental to the audience’s experience. Each angle has different effects, helping to define forms, highlight expressions, and add a sense of mood or realism. Flat lighting offers maximum visibility but can make performers look two-dimensional, while side and backlighting add depth and contrast, bringing performers forward and creating a more engaging visual experience.
When selected carefully, lighting angles can highlight specific movements, shape facial expressions, and subtly guide the audience’s focus, drawing attention to key moments and gestures. In short, the right combination of lighting angles makes all the difference in how a performance connects with its audience.
Lighting Angles for Stages
A comprehensive stage lighting setup typically includes five main angles, each offering unique effects. Below, we explore these essential angles, how they affect visibility and form, and when to use them for maximum impact.
a. Flat Front Light
Flat front light is positioned directly in front of the performer, at or close to eye level. This angle offers excellent visibility without creating shadows on the face, which makes it particularly useful for scenarios where the audience needs a clear view of facial expressions and details.
Despite its benefits, flat front lights can make performers appear flat and two-dimensional. This angle also tends to create large shadows in the background, which may be distracting or difficult to control. To reduce these background shadows, lighting designers often elevate the fixture slightly above eye level, allowing for a cleaner look.
Pros: Excellent visibility, minimal facial shadows
Cons: Can create background shadows, makes performers look flat
b. Front 45º Light
The 45º front light, positioned at a 45-degree angle above the performer’s eye line, is one of theater’s most widely used lighting setups. This angle casts subtle shadows under the nose and chin, adding a natural look that highlights the performer’s face while creating a bit of depth.
This lighting angle mimics sunlight and is especially effective in proscenium theater setups. It helps reduce background shadows while giving the stage a more natural feel. The gentle shadowing also gives performers dimension, avoiding the flat look of direct front lighting.
Pros: Natural and realistic appearance, good facial definition, reduced background shadows
Cons: Still slightly flat in some settings
c. Front 45º / 45º (McCandless Method)
Developed by Stanley McCandless, the front 45º/45º angle positions two lights at a 45º angle above and to each performer’s side. Often, one light is warm (pale amber) and the other is cooler (pale blue), providing a balanced, dimensional effect.
This approach is ideal for plays and performances where visibility and facial expression are essential. The dual lights help shape the face while minimizing shadows on the background. The warm and cool tones add depth, giving the performance a visually appealing and realistic quality.
Pros: Great visibility, effective facial modeling, depth with warm/cool tones
Cons: May need additional rigging in some theaters
d. Side Light
Side lighting sculpts the performer, illuminating one side and casting the other in shadow. This creates a striking three-dimensional effect that enhances movement and form, making it popular for dance performances.
Typically, side lighting is set up on “trees” or “booms” at the sides of the stage, and multiple fixtures may be used to highlight different parts of the body. Profiles or ellipsoidal lights are often chosen for this angle, as they offer precise control. Side lighting provides high contrast, creating a bold look that brings performers’ movements to life.
Pros: Excellent for body sculpting dramatic shadows, ideal for dance
Cons: It may cast shadows on nearby performers or objects
e. Back Light
Backlighting, positioned behind the performers, separates them from the background, creating a halo effect around their heads and shoulders. This effect emphasizes the performers’ silhouette, making them appear more three-dimensional and distinct from the set.
In addition to enhancing depth, backlighting is useful for setting the mood. Saturated color backlights won’t affect skin tones, allowing for more creative color choices. Often positioned at a 45º angle behind the performer, backlights provide versatility and can subtly shift the stage’s atmosphere by adjusting the light color or intensity.
Pros: Enhances depth, separates performer from background, adds mood
Cons: Limited face visibility, may cast dramatic shadows on the floor

f. Top Light
Top lighting is placed directly above the performer, casting light downward. It’s effective for creating minimal shadows on the background but tends to create stronger shadows on facial features, such as around the eyes and under the nose. This angle is commonly used for special effects or isolated lighting.
If used sparingly, top lighting can add a soft glow by reflecting from the floor onto the performer’s face, creating a subtle up-light effect. Top lighting is also frequently used on thrust or traverse stages where backlighting isn’t possible.
Pros: Minimal background shadows, subtle sculpting, good for special effects
Cons: Can create harsh facial shadows if too intense
g. Up Light
Uplighting, or light directed from below the performer, is usually reserved for special effects. It’s effective for creating dramatic or unusual looks, often giving a scene an eerie or mysterious quality. Known as “footlights,” when placed at the front edge of the stage, up lights are also used for specific effects, like simulating firelight.
Although it looks unnatural, uplighting is useful for settings where shadow casting is intentional. When used at low intensity, it can also help reduce shadows cast by hats or other headwear.
Pros: Dramatic and unusual effects, good for reducing hat shadows
Cons: Unnatural look, may create exaggerated background shadows

Tips for Using Angles to Improve Performances
To make the most of these lighting angles, try these practical tips:
- Layer Angles for Depth: Use a combination of front, side, and backlighting to create a balanced, three-dimensional effect, ensuring performers don’t look flat.
- Adjust Angles to Set the Mood: Experiment with back and up lighting to add atmosphere, and use color selectively for enhanced effects.
- Prioritize Key Angles for Video: For video recording, focus on front 45º and backlighting to ensure that performers are well-lit without harsh shadows that may distract on screen.
Let’s Work Together
At PAR LED Lighting, mastering lighting angles is key to creating an unforgettable stage experience. Each angle offers unique benefits: front 45º and flat front lighting maximize visibility, side and backlighting add depth and dimension, and up and top lighting bring special effects to life.
By thoughtfully combining these angles, you’ll achieve a captivating, immersive setup that draws audiences in and makes every performance shine. Try out different angles, get creative, and watch your stage transform.
Buy now and bring your vision to life with PAR LED Lighting!